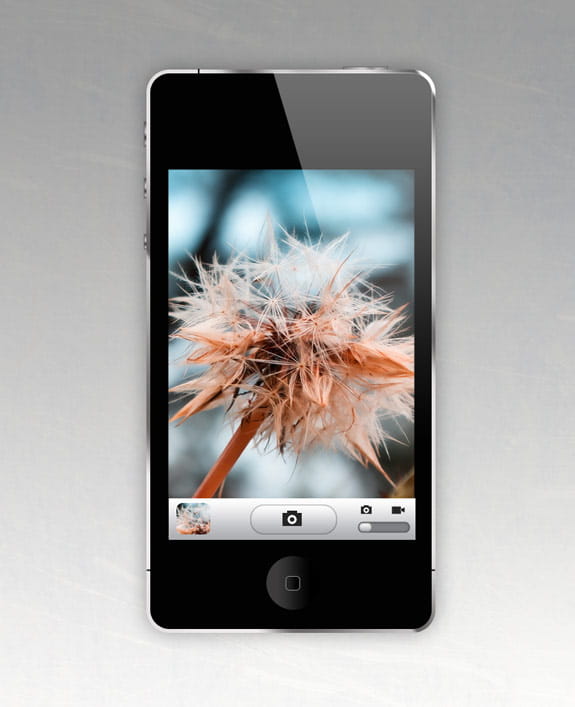
Final Image:
Resources:
Guide Done by Inspiks.
Reference Photo by apple.com
Dandelion.Wallpaper Pack by SimekOneLove
Background Texture by Stock.Xchng
Steps:
Step 1: First we will create a background. Open a new document with a White Background 6.33cm x 7.79cm at 300dpi. Change the background to a layer (double click the background) then apply a gradient overlay.

Hex Colors:
#9d9d9d
#cecece
#ffffff
Step 2: Open the Background Texture by Stock.Xchng and drag it above the background gradient, lower the opacity to 8%.

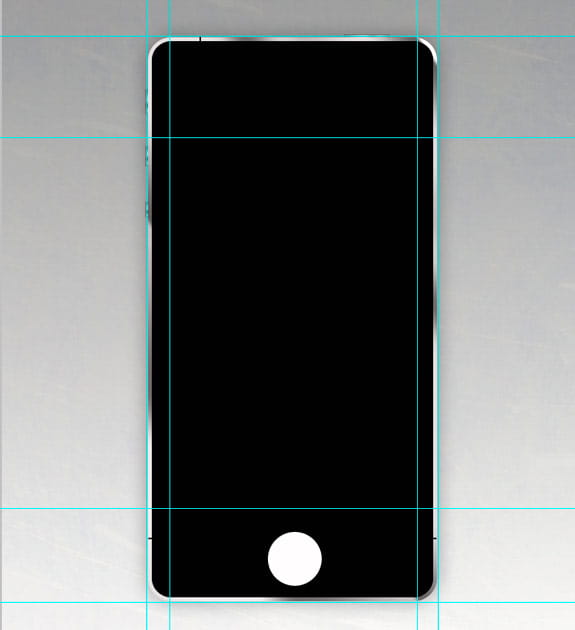
Step 3: Now we can plan our design using the Reference Photo by apple.com, draw some guide lines for the outline of the iPhone and for the interface section.
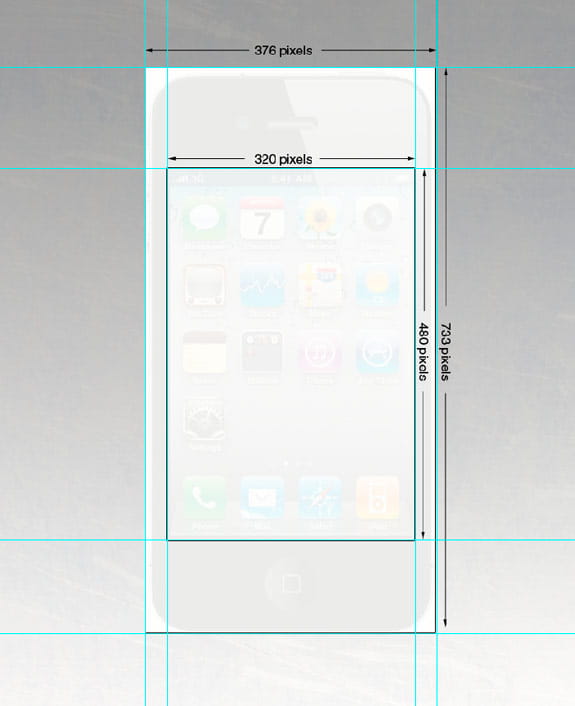
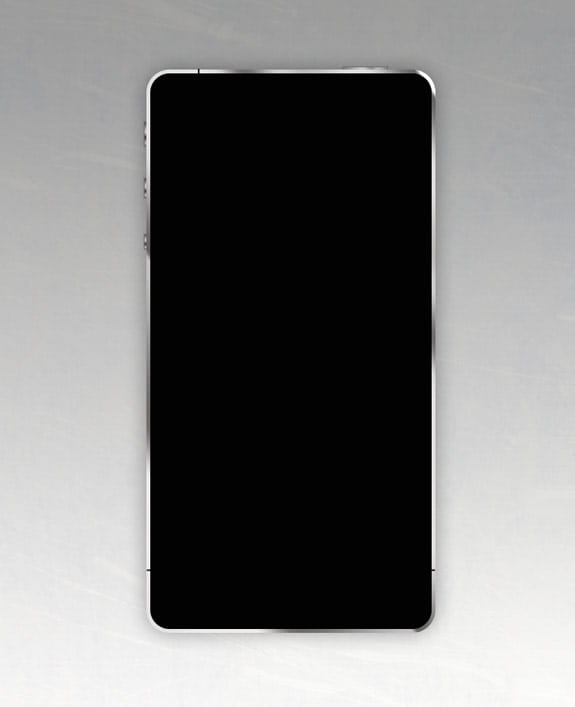
Step 4: Draw a rounded rectangle with the Rounded Rectangle Tool. Use the Fill Pixels option with a Radius of 27 pix. Name the Layer “Body”. Make sure your foreground color is set to black.
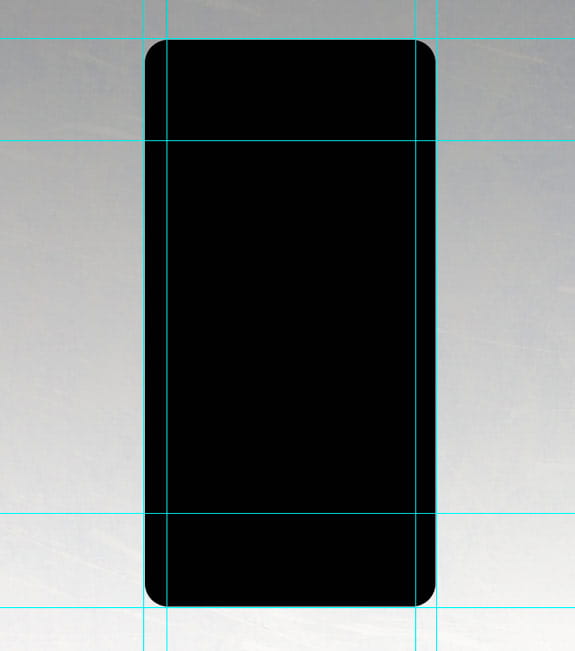
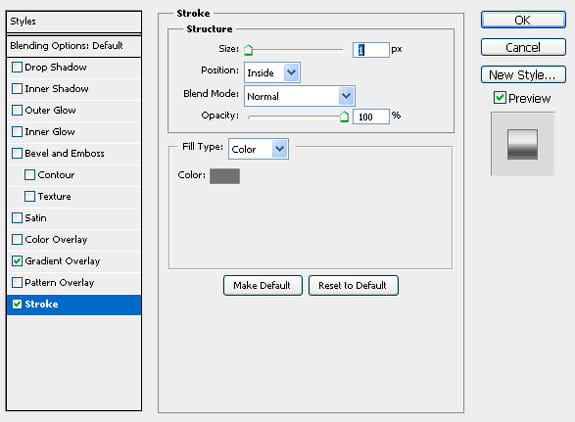
Step 5: Give the “body” a Gradient Stroke, with the settings below.
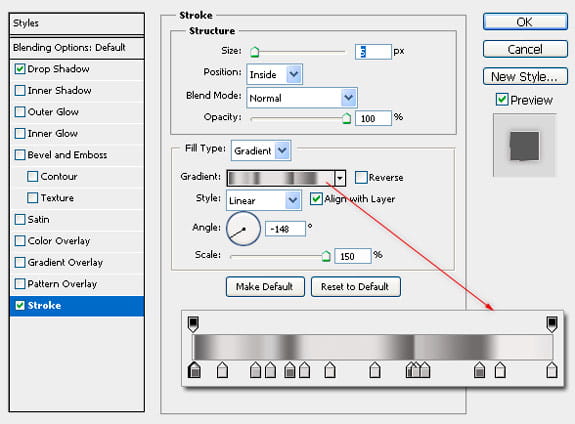
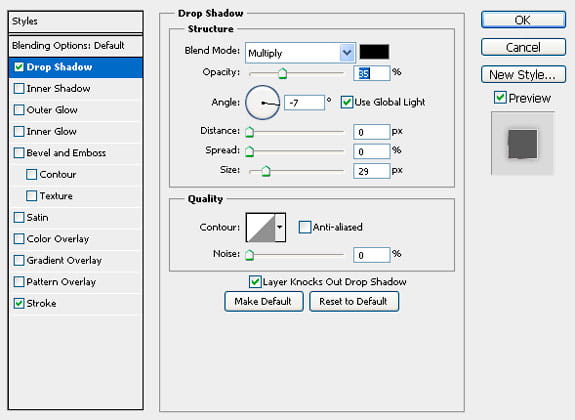

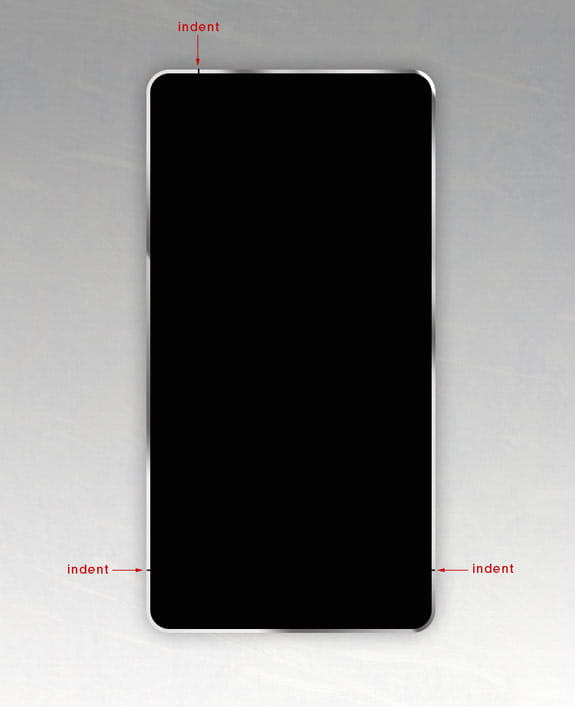
Step 6: Draw some small black indents with the Rectangle Tool.
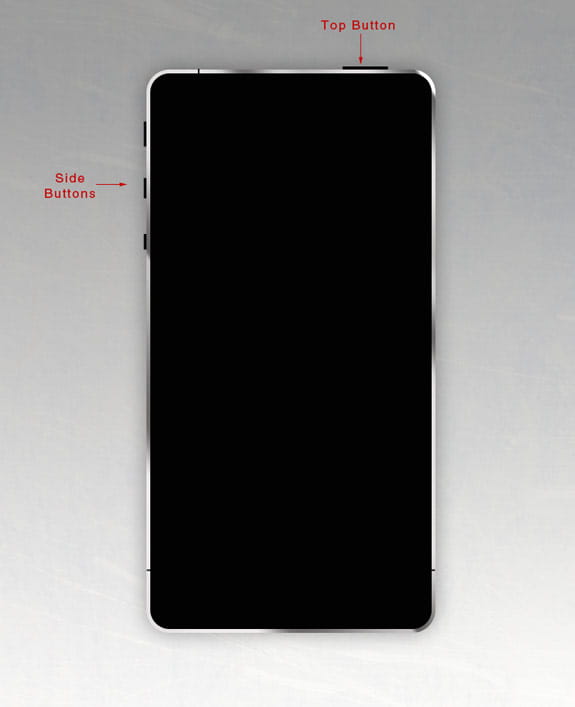
Step 7: Draw four more rectangles behind the “body” layer for the iPhone buttons.
Apply a Gradient Overlay to the side buttons. (Settings below)
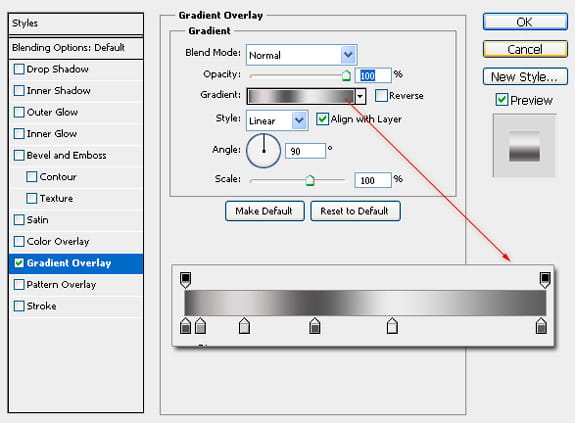
Hex Colors:
#515050
#a29f9f
#d9d5d5
#545353
#ecebeb
#5f5f5f
Apply a Gradient Overlay to the top button. (Settings below)
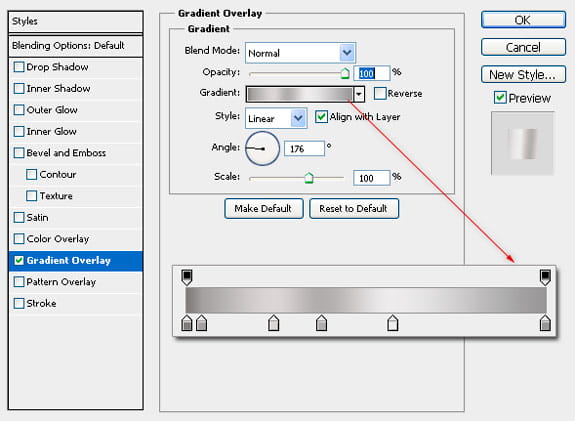
Hex Colors:
#7f7b7b
#a29f9f
#d9d5d5
#aeabab
#ecebeb
#979696
Apply a 1 pixel stroke to the inside of all of the buttons, with hex color # 716f6f.
Step 8: Now create the home button, Use the Ellipse Tool and draw a circle. (hold shift and drag to, draw a perfect circle.)
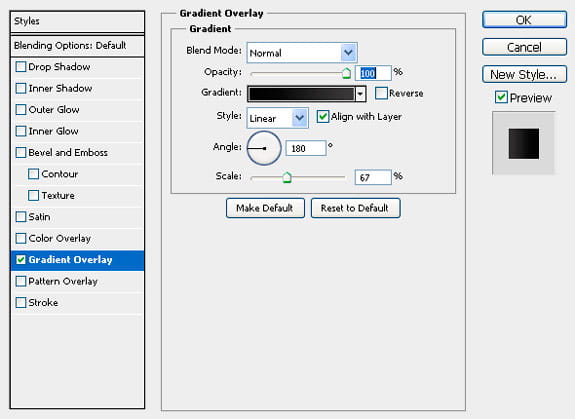
Add a Linear Gradient to the circle, with the settings below.
Hex Colors:
#000000
#3d3c3c
Then create a small rounded square above the circle and give it a 1px white stroke.

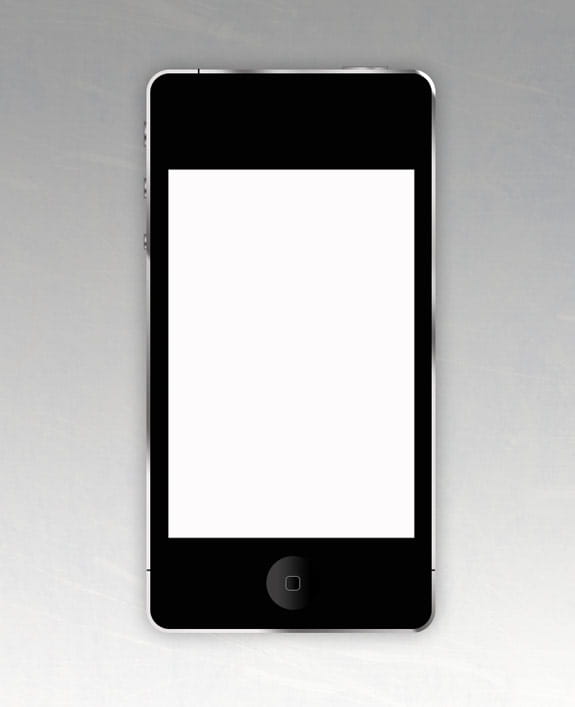
Step 9: Now create the iPhone screen with the Rectangle Tool.
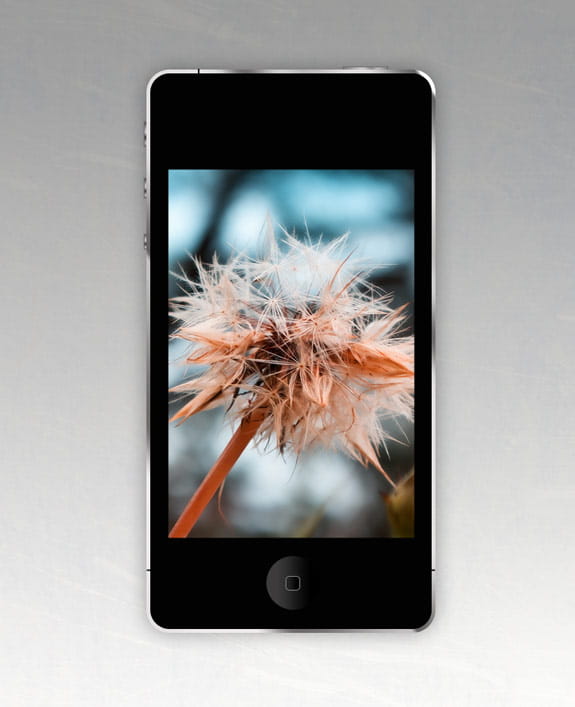
Open the iPhone wallpaper from the Dandelion.Wallpaper Pack by SimekOneLove. Place it above the interface layer, drag the wallpaper above the “Screen” Layer, then point your mouse right between the layers of the “Screen Layer” and the Wallpaper and Alt-Click when you see the Pathfinder Symbol appear, this will create a mask, re-size the wallpaper to fit inside the mask.
Step 10: Now we will create the interface for the camera, Draw a rectangular shape for the main section of the interface and give it a Gradient Overlay with hex colors #abacb0 and #ffffff
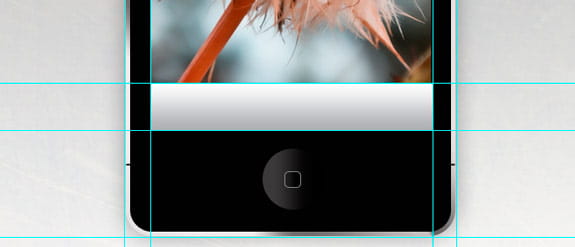
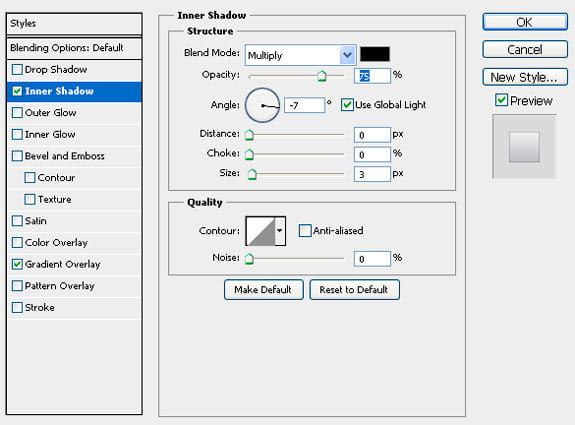
Step 11: Next we will create the camera button. Draw a rounded rectangle with the Rounded Rectangle Tool, with a radius of 20 pixel. Apply the same Gradient Overlay as the main section of the interface (you can copy and paste the layer style). Give the layer an inner shadow to create some depth, see inner shadow settings below.

Step 12: Next, draw the camera icon by drawing and connecting simple shapes with the Rectangle Tool. The circle for the camera icon was made with the Ellipse Tool and a 3 pixel white outer stroke was added. Group and duplicate the camera icon, then go ahead and draw the video icon.
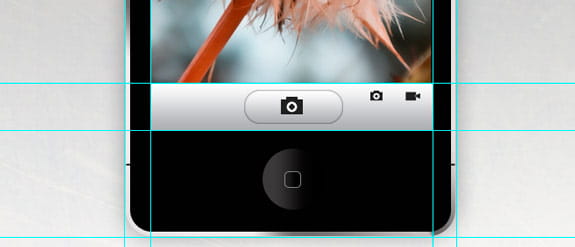
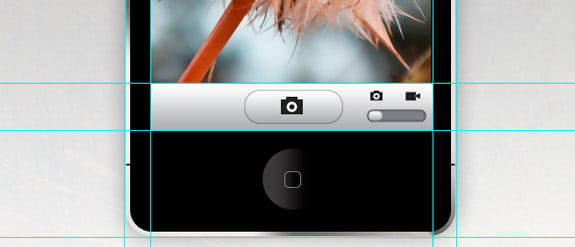
Next create the Camera Options Slider Button. First create a Rounded Rectangle Tool, with a radius of 20 pixels. Add a color overlay, hex #7e7f84 and an inner shadow.

Draw a smaller rounded rectangle to represent the slider button. Copy the layer style from the “Camera Button” and paste it on the rounded rectangle layer. Position it like the image below.
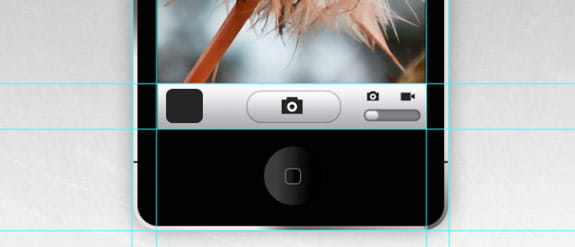
Step 13: Now we will draw another rounded rectangle for the “image preview” window, this time make the radius 10 pixels.
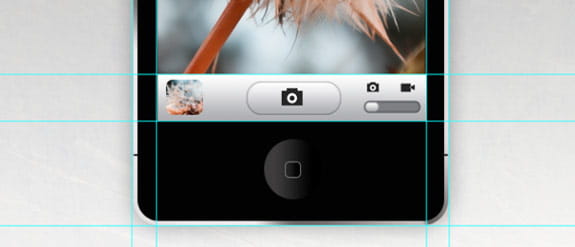
Place the Dandelion.Wallpaper Pack by SimekOneLove above the new “image preview layer”, then point your mouse right between the layers of the “Screen Layer” and the Wallpaper and Alt-Click when you see the Pathfinder Symbol appear, this will create a mask, re-size the wallpaper, so that a small section of it shows in the window, like the image below.
Step 14: Now we will create the reflective glare over the phone. Flatten or make the “Body Layer” a smart object. Command(mac)/Alt(pc)/click the “Body layer” to make a selection.
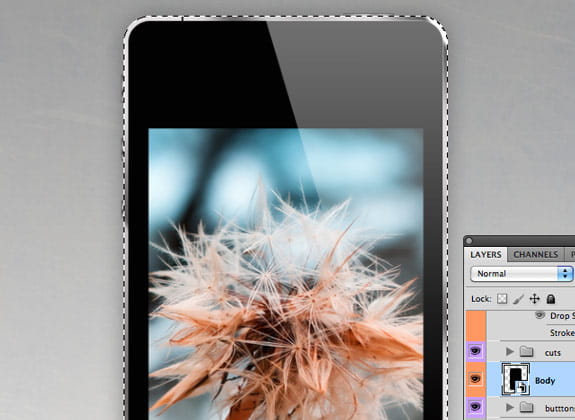
Click, Selection>Modify> Contract and Contract the selection by 5 Pixels.
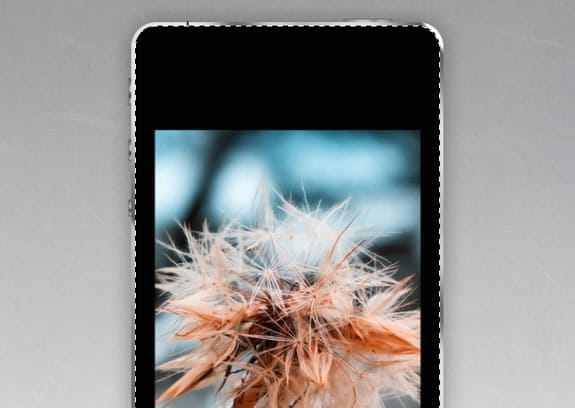
Now create a new layer above all the other layers and make a gradient from white to transparent in the selection.
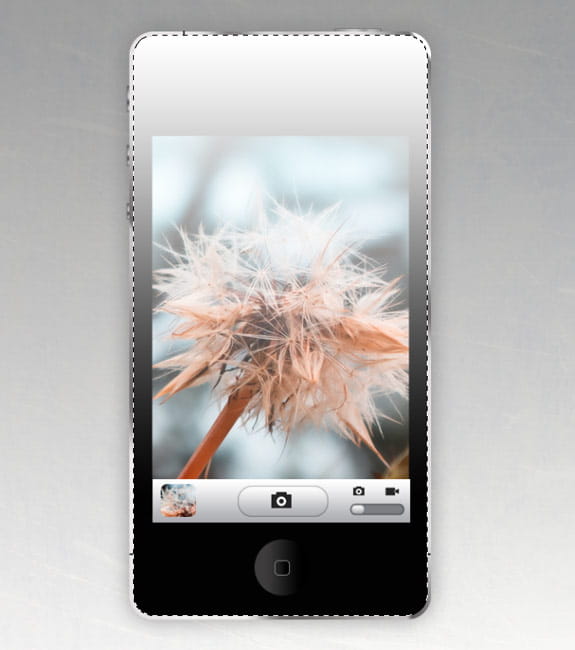
Use the Polygon Lasso Tool to make a new selection like the image below.
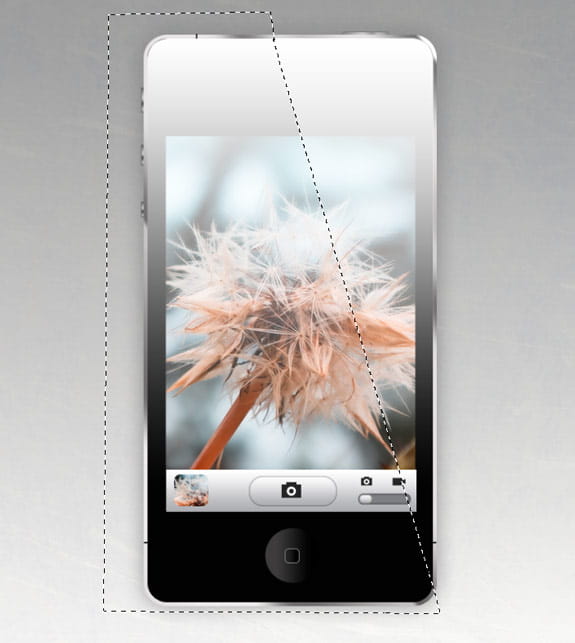
Delete the area that is selected then, reduce the opacity of the gradient by to 43%.
Step 15: Now we will create the speaker at the top of the iPhone. Draw a small rounded rectangle.
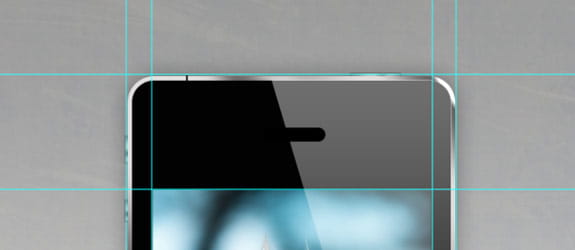
Make a selection of the rounded rectangle and contract the selection by 3 pixels ( selection> Modify>Contract). Create a new layer and fill the layer with any color.
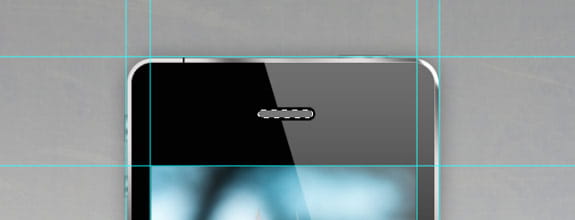
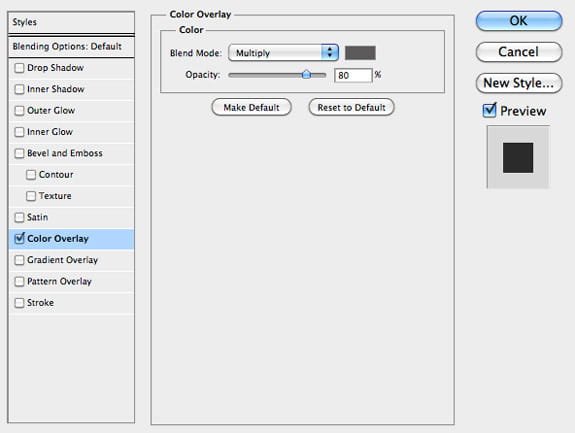
Add the Layer Styles below.
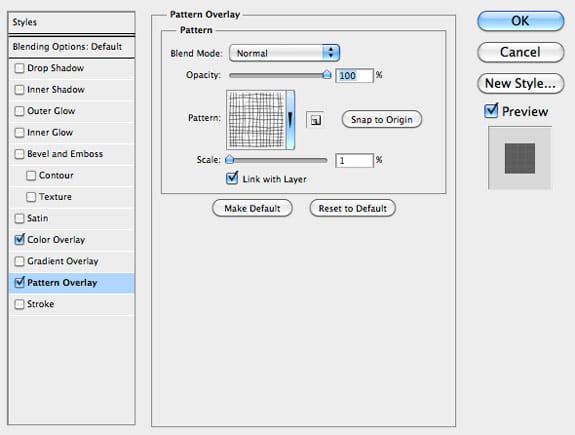

Step 16: Now we will create the camera, Use the Ellipse Tool and draw a circle. (hold shift and drag to, draw a perfect circle.) Add a Linear Gradient to the circle, with the settings below.
Hex Colors:
#3d3c3c
#000000

Duplicate the circle and reduce the size, while holding shift. Add a Outer Stroke with hex color # 566771

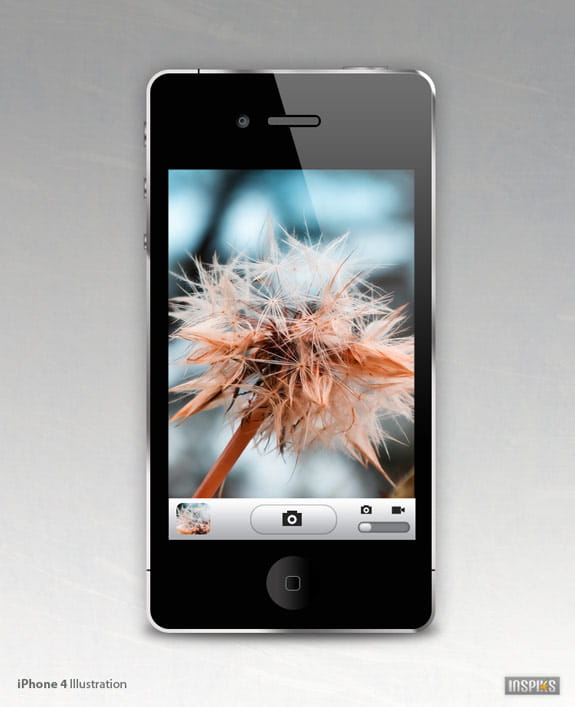
Final Image
Categories:
Apple
,
Apple Guides
,
Designs
,
iphone
,
iPhone 4G


0 comments:
Post a Comment